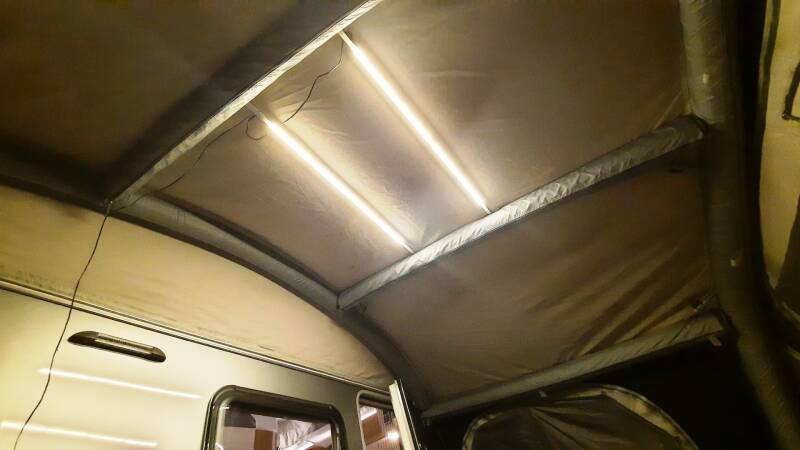
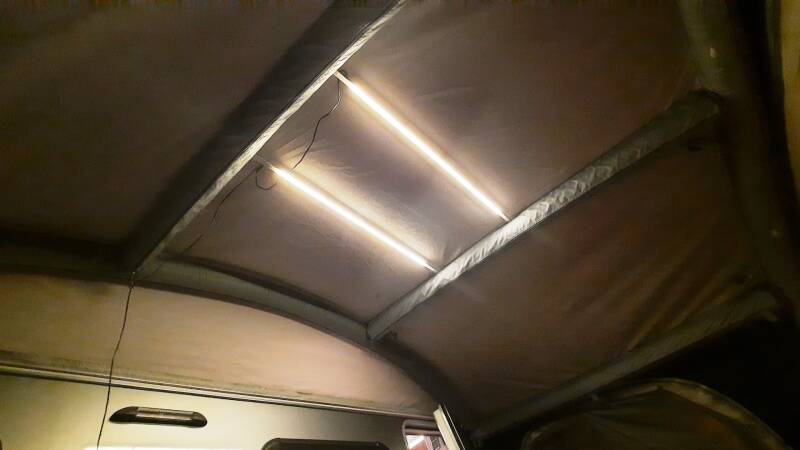
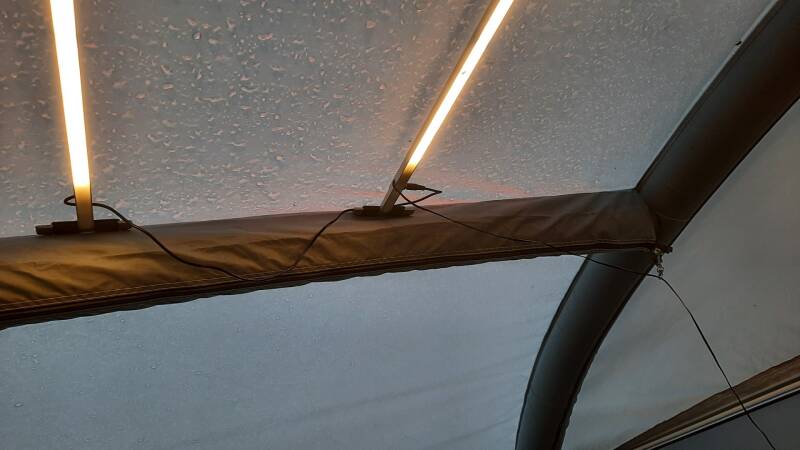
The awning is illuminated by two remote-controlled LED strips. They are mounted between the inflatable tubes of the awning and the tent roof.
The longer one is located at the back and is powered by the 12V DC socket in the cabinet with drawers (see there). The shorter one is plugged in, but can also be disconnected / omitted.
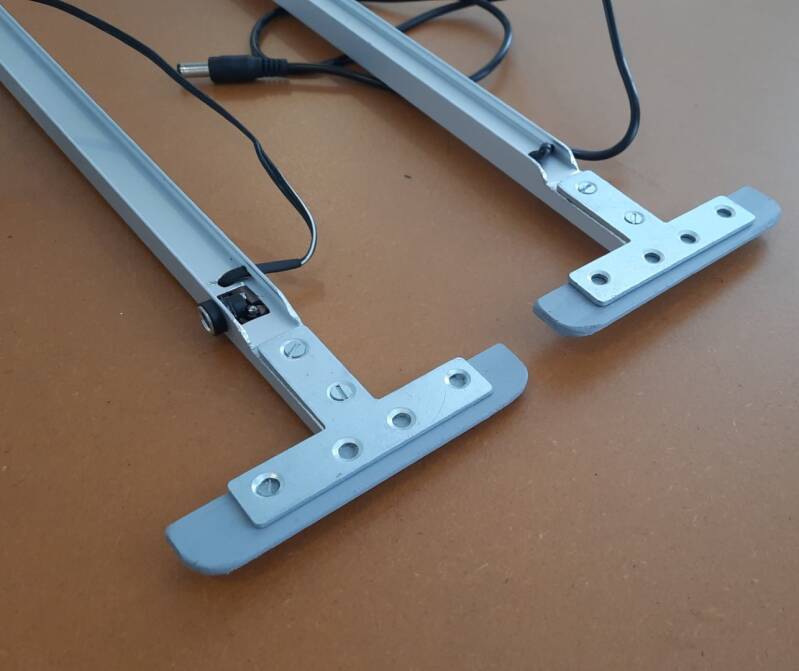
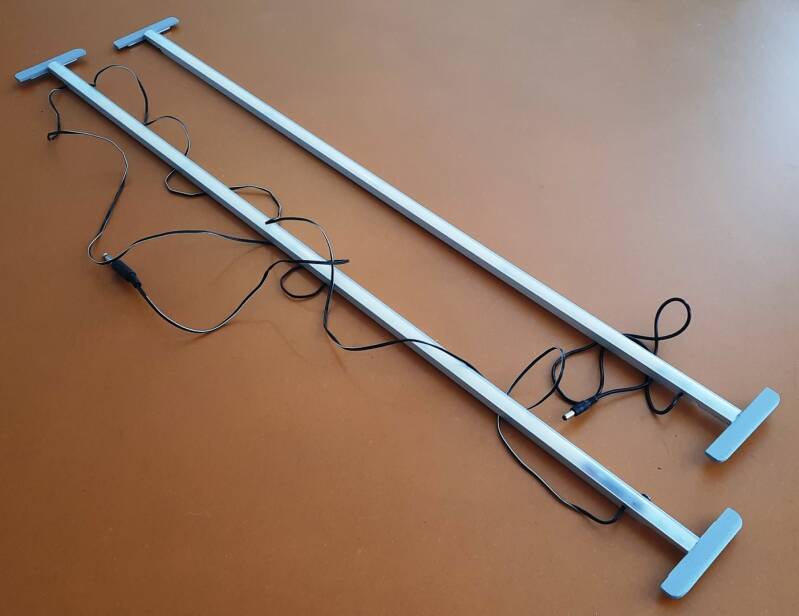
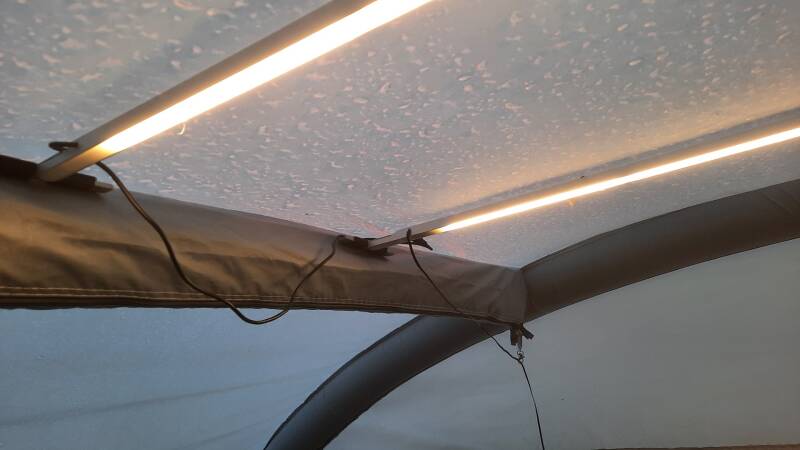
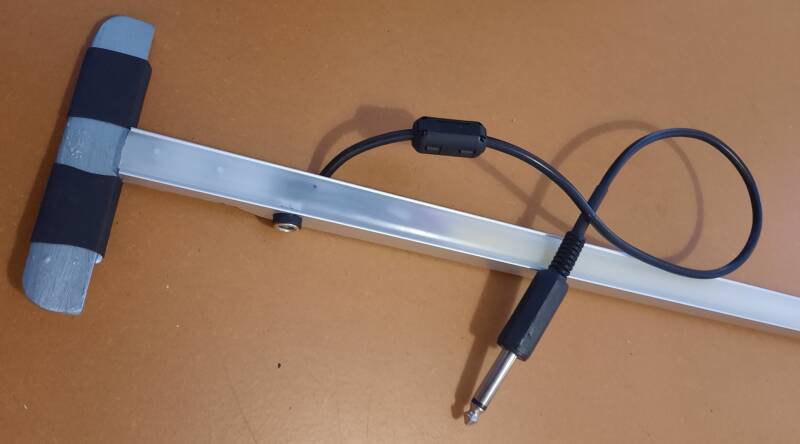
The LEDs are 20 cm long COB LEDs, mounted one after the other in long aluminum profiles. T-pieces with thin pieces of wood are mounted at the ends, which clamp the lights to the awning roof. Because the awning tubes taper, the front LED bar is shorter than the rear.
Of course, you can use regular LED strips, but we opted for long COB LEDs on a thin aluminum support that emit an even, warm light. The whole thing weighs next to nothing...


The remote control receiver only fits into the profile without the plastic sealing.
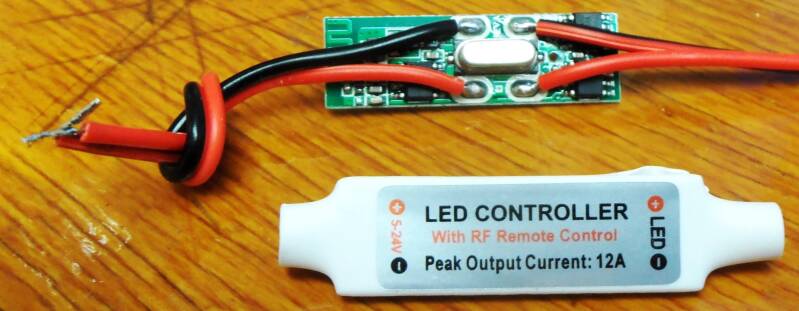
The lighting is controlled with a small remote control. To fit the receiver into the LED profile, we had to cut away the sealing. The printed circuit board is sprayed with plastic spray for insulation. The dimmer works with both stepless and fixed brightness adjustments.
The dimming function allows you to change the atmosphere. In the photos, the light appears rather cold white, but we deliberately chose warm white, and that's how it looks inside. (The cable in the photos goes down to the 12V DC power supply in the hanging cabinet.)
Afterword 1).
I forgot the tent roof can get soaking wet. So I applied a thick coat of hammerite paint to the ends of the T-pieces and also sealed them with heat shrink tubing.
Afterword 2).
The electric cord was too fragile, and sometimes the lights would turn on spontaneously. So we made a cord that can be disconnected with a jack-connector.
We don't know why the lights sometimes turned on spontaneously (spontaneously turning off doesn't happen...). To suppress interference we tried a ferrite clamp. If that's not enough, we'll simply add a switch to the power cord.
Maak jouw eigen website met JouwWeb