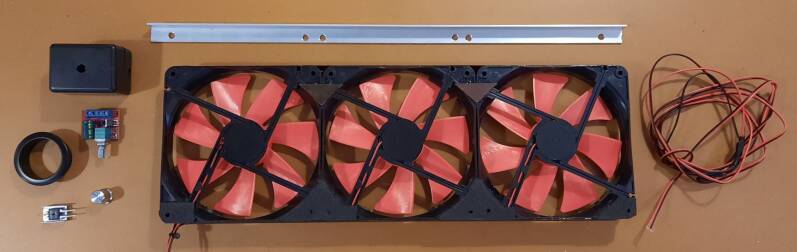
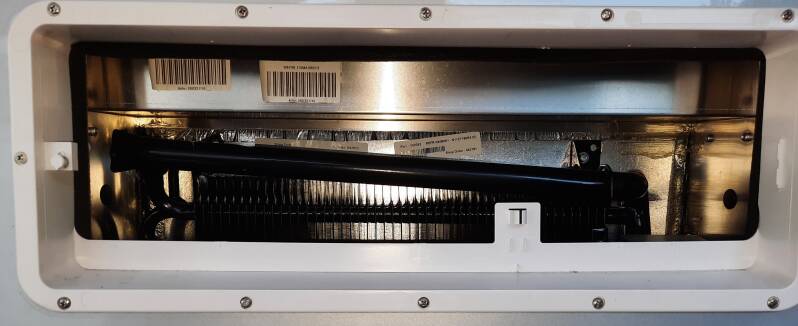
An absorption refrigerator works much better with active cooling. There are expensive ready-made kits available, but we use larger (and more quiet) fans. Photo on the right: aluminum strip for mounting; temperature switch (40 degrees Celsius); three paired 12V= fans measuring 140 x 140 mm; the PWM control. We later spray-painted the red blades black.
The first thing to fix is the wiring from behind the refrigerator to the cabinet under the couch next to the kitchenette. Because we also want to create an alarm, for example, we're using a ten-wire cable for this wiring. Here on the right is the connection section for behind the refrigerator. (Open and closed.)
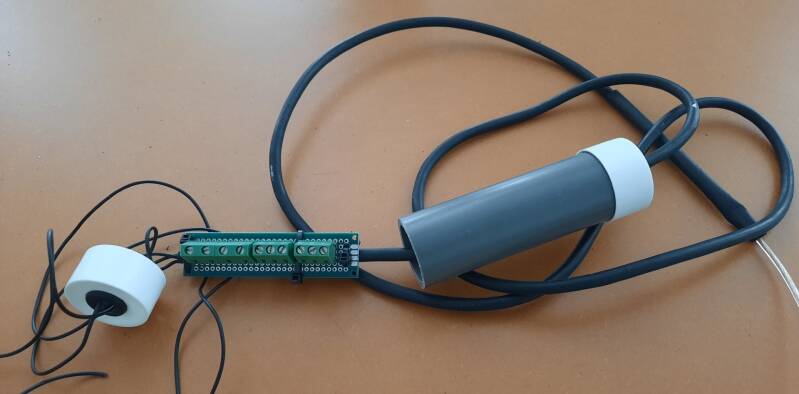
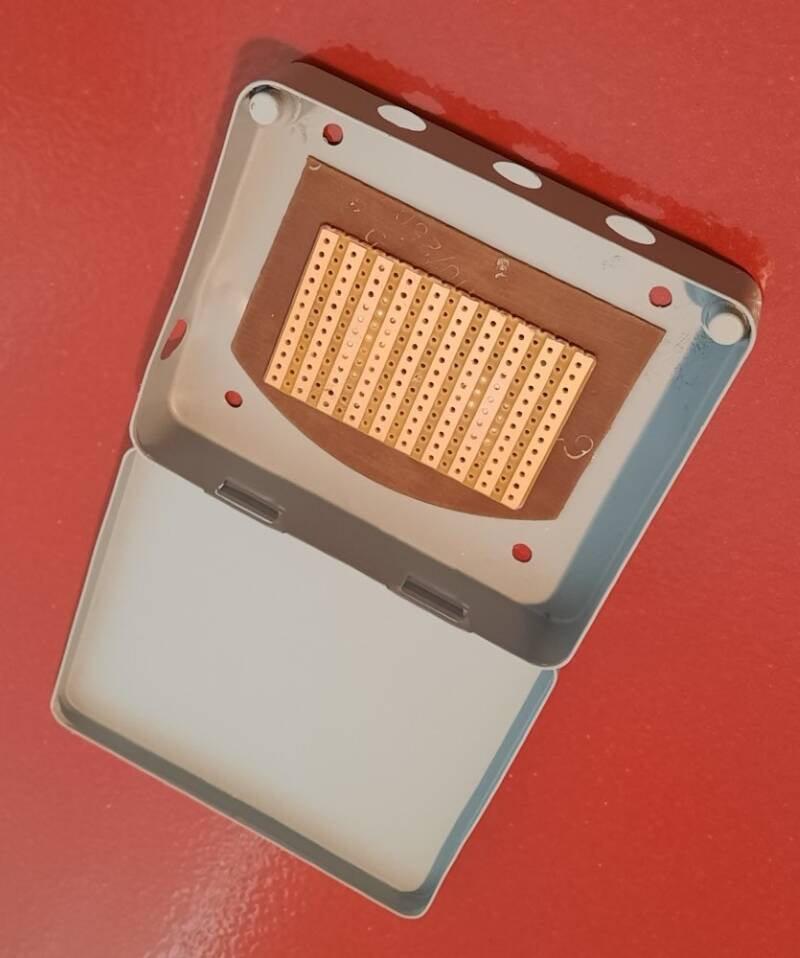
On the opposite side, in the couch, we'll also make a connection for the ten-wire cable. We'll do this with strips that are easy to solder. They are fitted in a small metal box with a magnetic closure. Now we have to pull that ten-wire cable from behind the refrigerator to the couch...
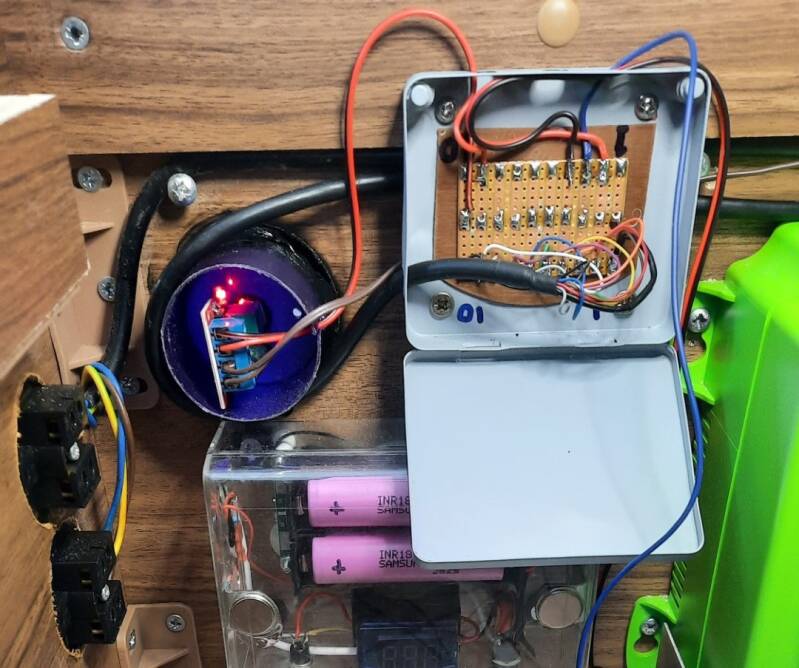
The photo on the right also shows the purple back of the PWM speed control for the refrigerator fans. (And left under the two new 230V sockets on the front of the couch.)
To pull the wire, we push a piece of installation wire along the gas line, over the wheel arch, to the cabinet under the couch bed. (Photo on the left.) We attach the ten-wire cable to it and pull it through.
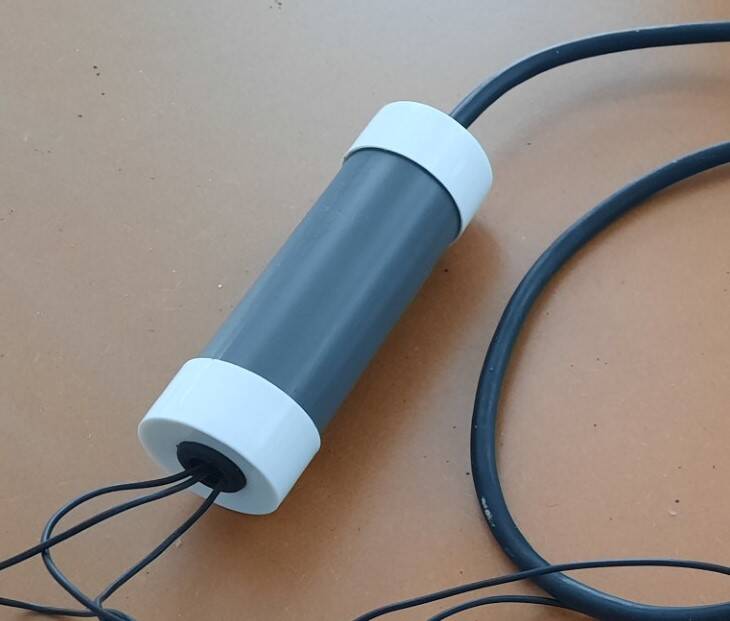
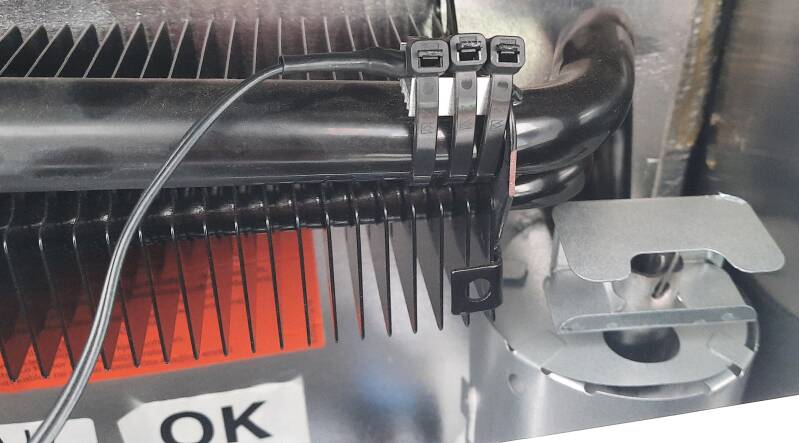
The photo on the right shows the tube to which the thermal switch will be attached.

The thermal switch has a TO-220 housing (with two connections). It's screwed onto a small aluminum cooling profile that's secured to the refrigerator's pipe with T-raps.
The right photo shows the speed control (the little recessed knob next to the fridge).

Comments and questions:
Ineke: Where can I buy that temperature switch, and how does it connect to a round refrigerator pipe? Answer: You can find that switch online. 40 degrees Celsius is one option, but you can also use 35 or 50 degrees if you prefer. We first screwed the temperature switch to a small aluminum cooling profile. This is attached to the pipe for good thermal conductivity.
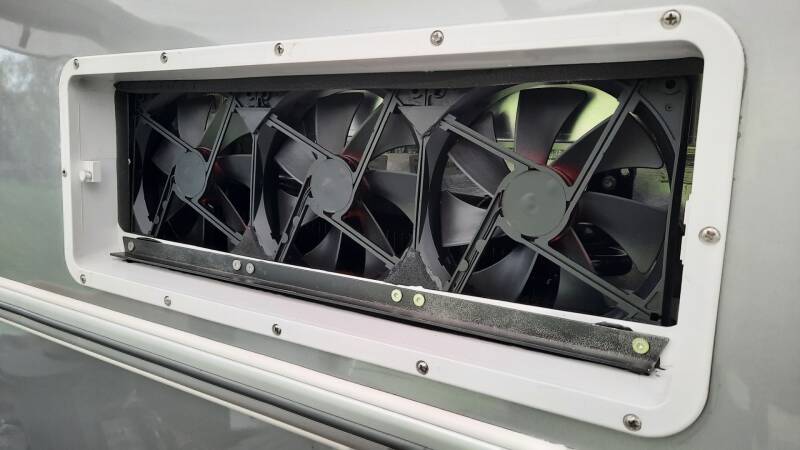
Koen K: I also got started on the refrigerator fan after reading your article. I've already found a fan control and temperature sensor. I think I read that it's better to extract air from the top than to blow air from the bottom. I have a different layout (560), so the refrigerator is at the front (not in the kitchen) and next to the meter cupboard, so I think it's a bit simpler for me. How do you attach the vents? Answer: Hi Koen. The three linked fans are secured with an aluminum angle bracket. (So not to the grille itself, which remains freely removable...) We fitted the fans at the back (not visible in the photo) with fixed M4 nuts. Six M4 bolts run through the aluminum bracket at the bottom. At the top, it just happens to clamp itself into the Eriba's frame.
@Koen And yes, it's better to extract air from the top, close to the refrigerator's cooling fins. (Airflow from bottom to top.) That is precisely why we used 140mm fans: this gives an airflow along all the cooling fins, and not just a third of them as with the expensive noisy set from Thetford itself (with only one small fan).
Afterword. Perhaps there is also a simpler approach. The photo on the right shows a pre-build set with three linked fans and a speed controller. If you place the thermal switch between the two 12V DC (male / female) connectors, you're done.
However, this speed controller must be connected to a 230V mains supply. Or else you can use a 12V DC PWM regulator yourself. Note: we have no experience with the noise level of this ready-made configuration, but because of the speed control, it is probably okay.

Maak jouw eigen website met JouwWeb