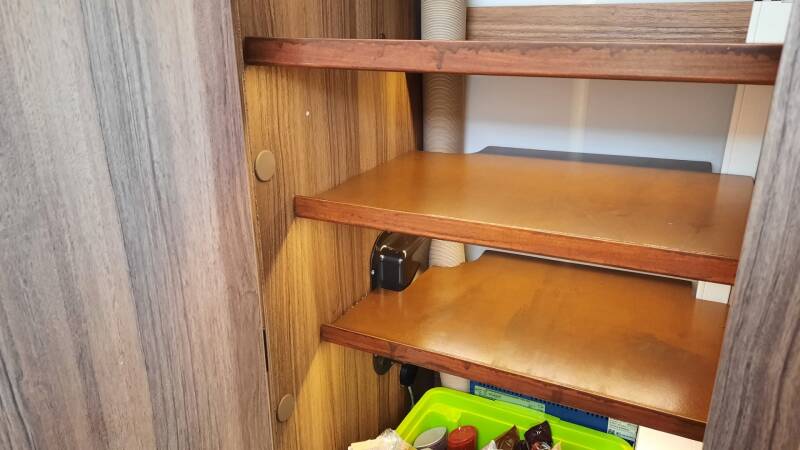
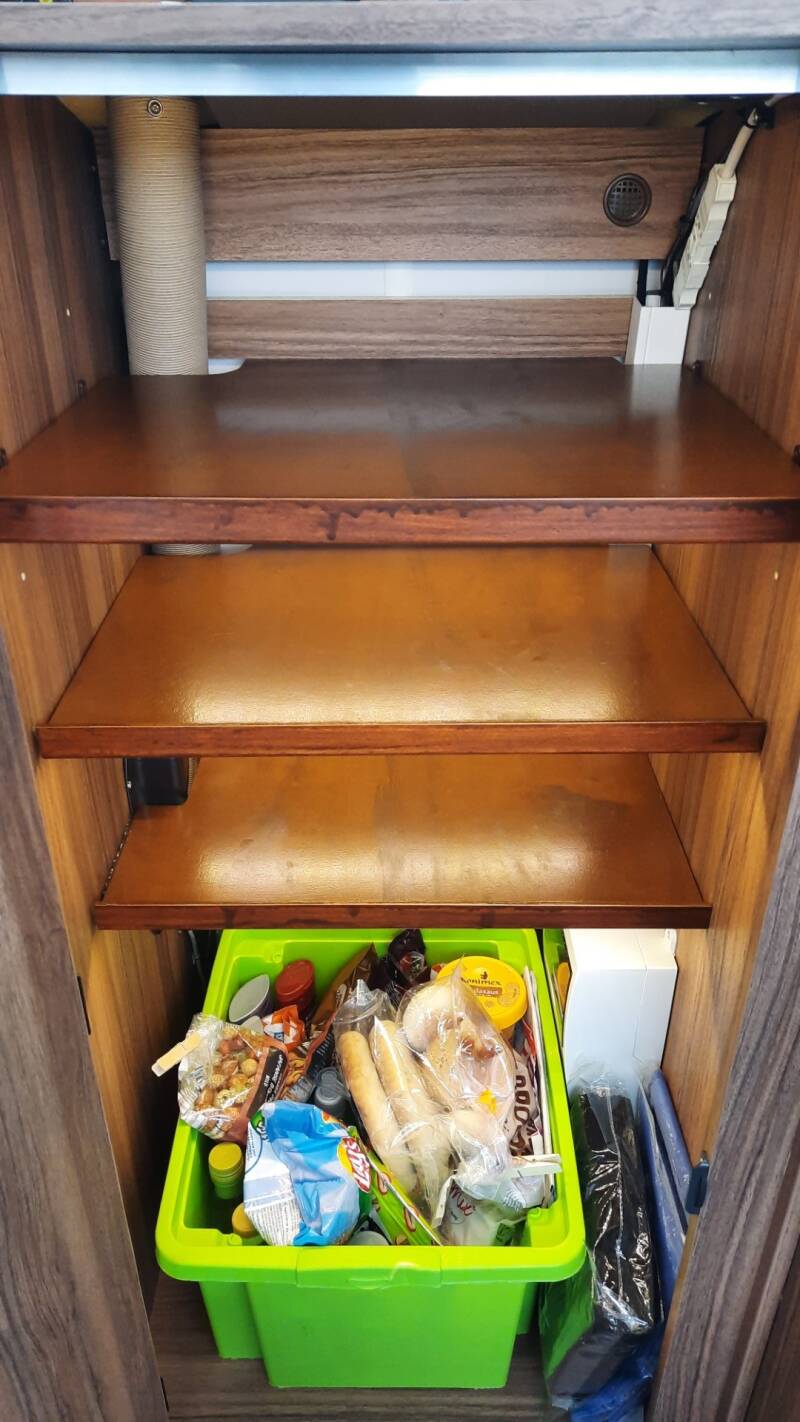
Many Eriba owners convert their tall cupboard into a unit with shelves. We do the same. Three shelves are installed with dimmable LED lighting. There's space at the bottom for a storage box, and the shelves become shallower from top to bottom to provide a clear view inside the box. We're using the existing cable duct at the rear right of the unit to neatly hide all the wiring.
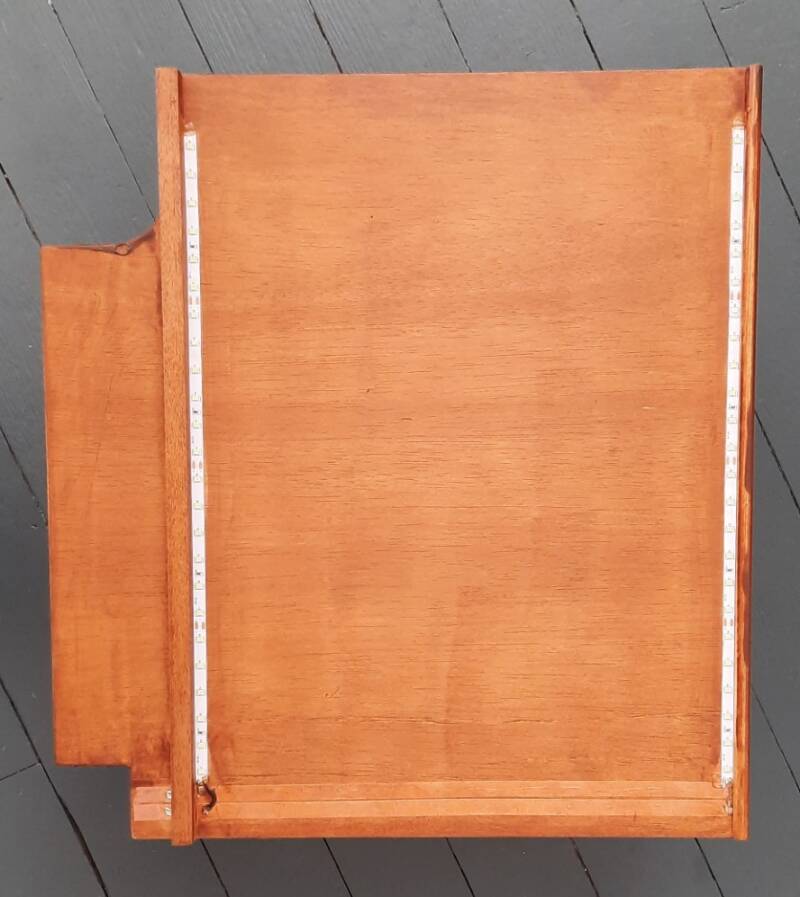
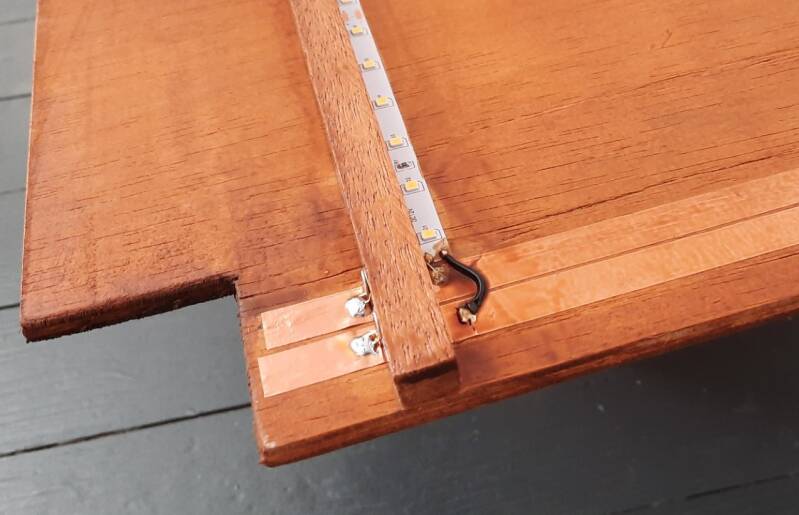
Shelves: 9mm plywood is nice and light. A small edge at the front conceals the LEDs. We use copper tape for wiring: we solder the LED strips and also the connections that disappear into the cable duct.
The photo on the left shows the underside of a shelf. The photo on the right shows a detail of the copper tape and the soldering for the wires.
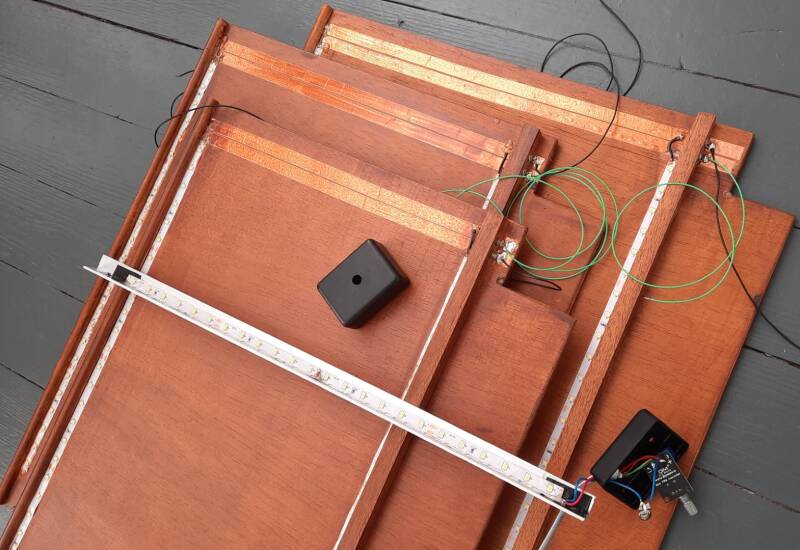
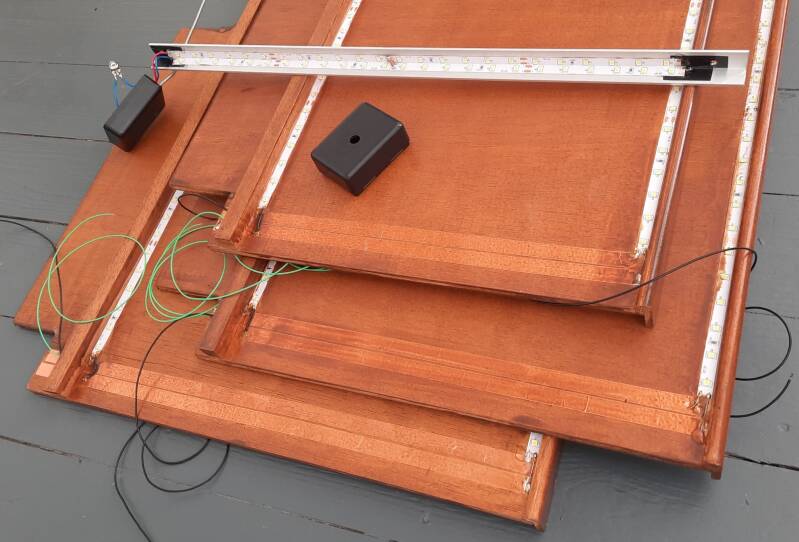
Three shelves with wiring for two LED strips each. Plus an aluminum profile with LEDs for the top shelve. And the PWM LED dimmer in a small plastic housing.
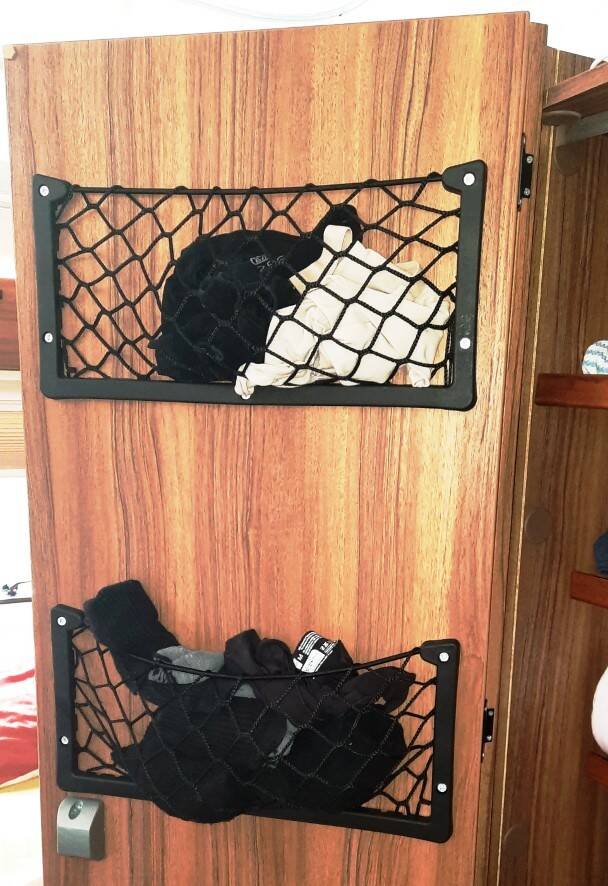
Below an impression after installation. The shelves are secured with IKEA shelf brackets that can be secured with a screw: this ensures the shelves are truly secure and won't come loose on the go. Two nets were added to the inside of the door.
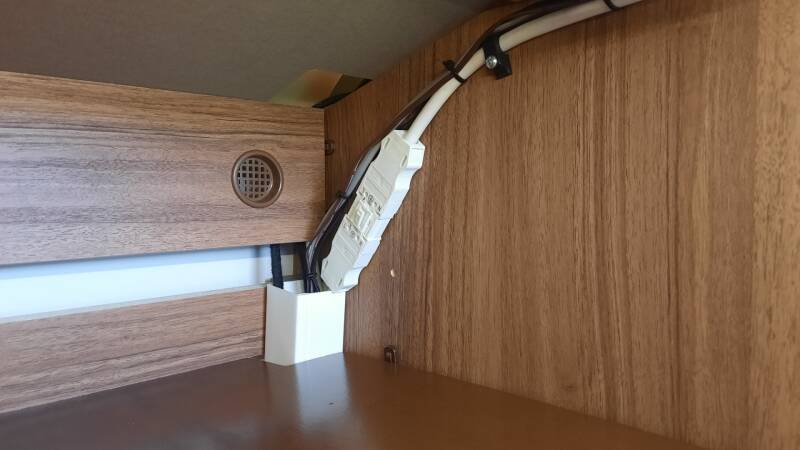
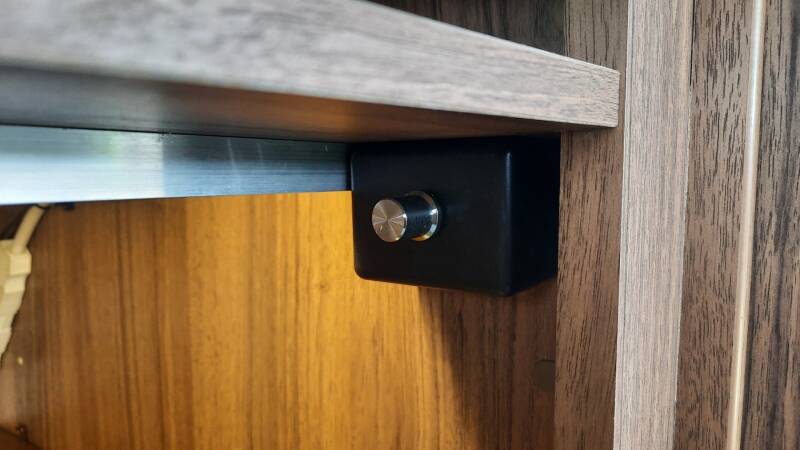
Here are two more details. The left photo shows how the wiring disappears into the cable duct alongside the existing wires.
On the right is the PWM controller. The knob is both an on/off switch and the brightness control.
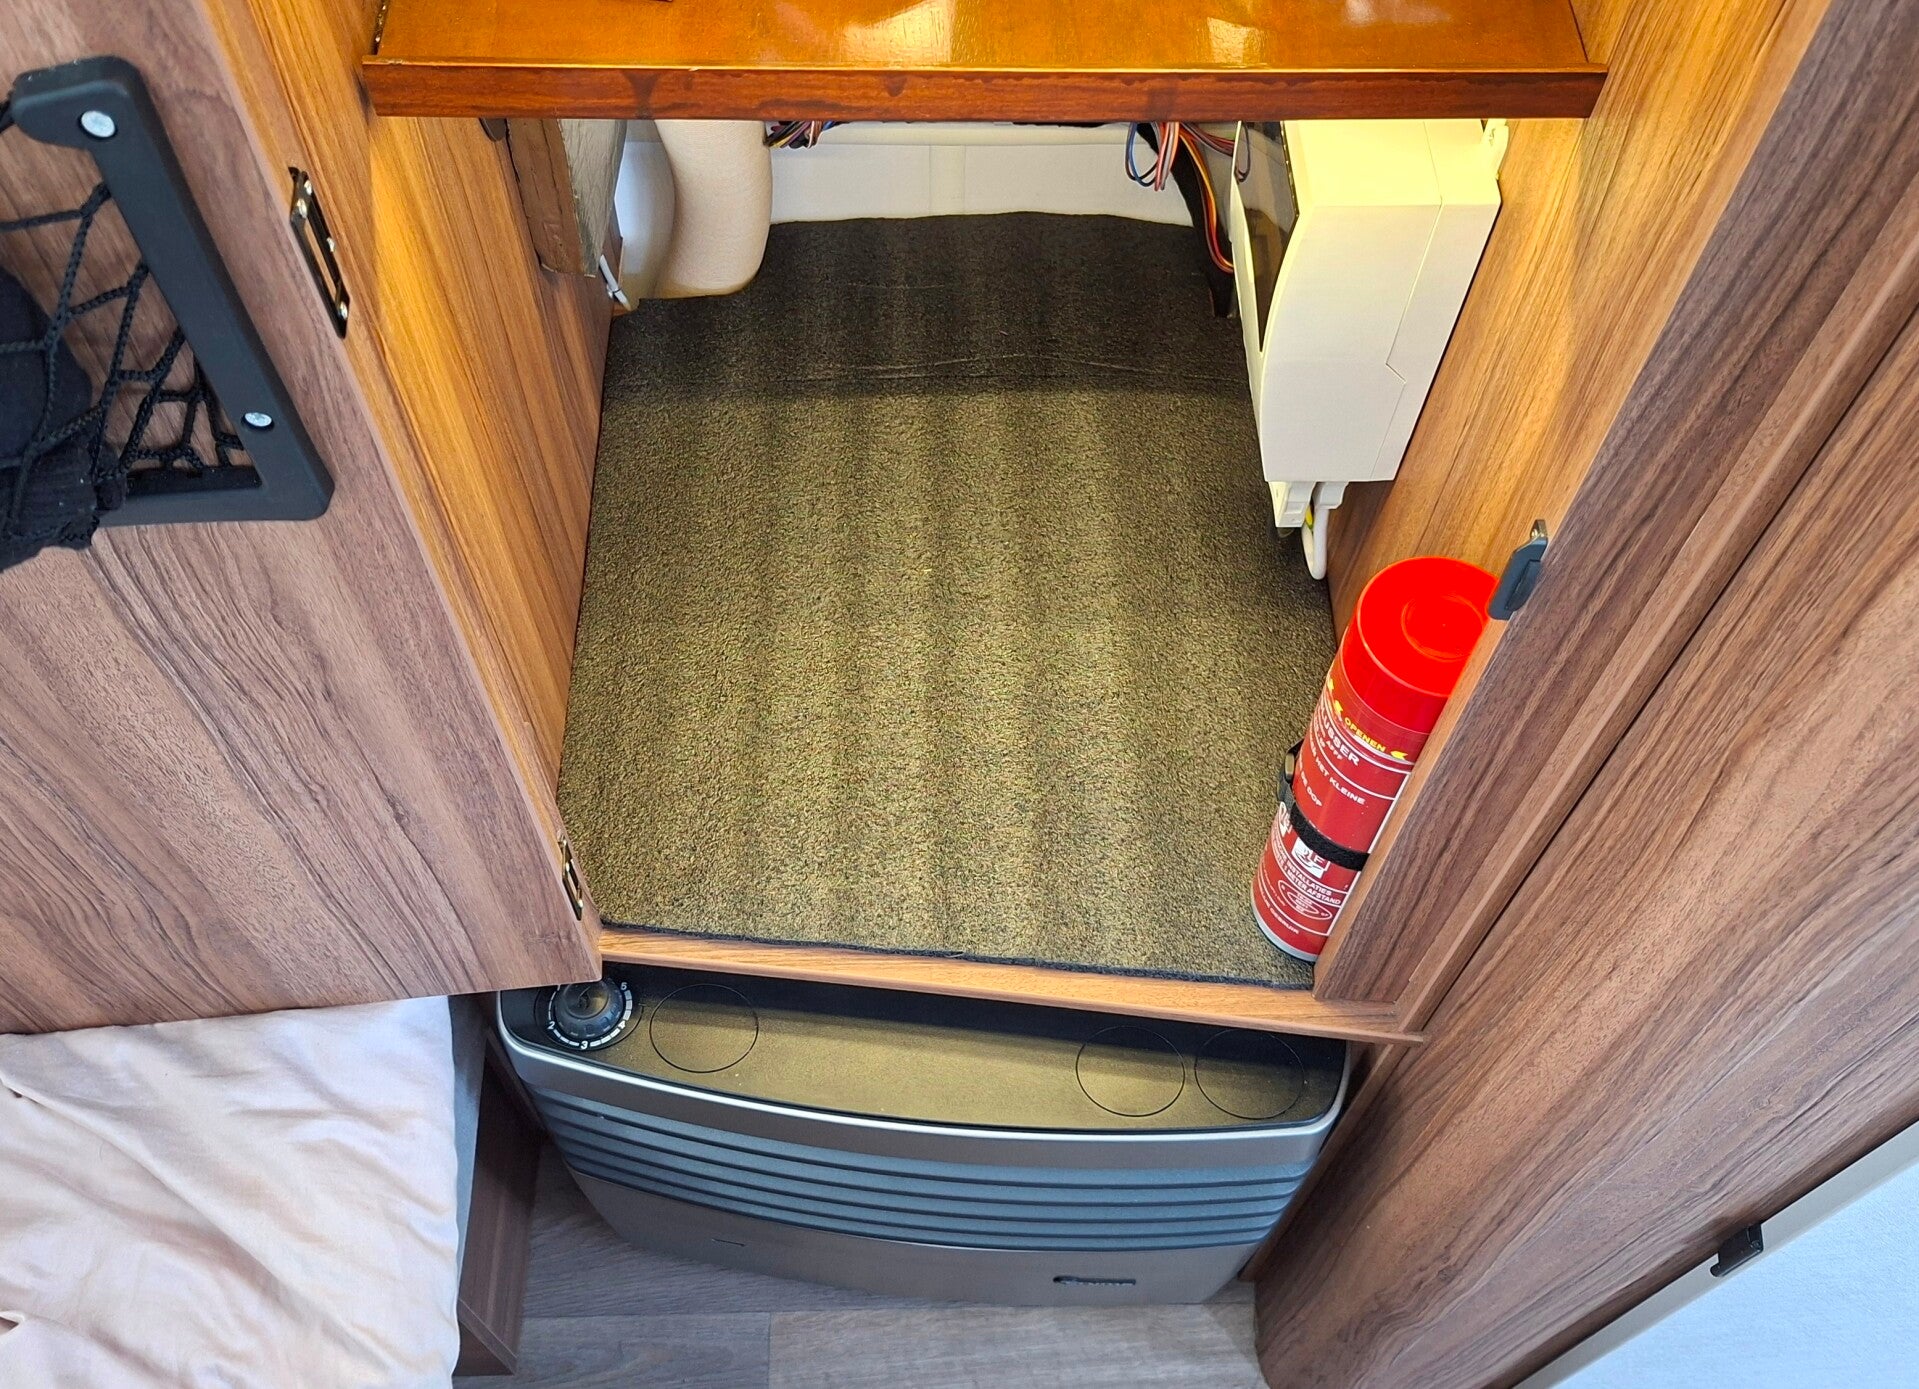
The Schaudt power supply in the wardrobe sometimes produces a tremendous amount of heat. That's why we installed ventilation grilles at the top of the wardrobe to allow the heat to escape. There's not much space between the 12V DC power unit on top of the wardrobe and the LED strip below, so we drilled holes for four small grilles.
Addition. We noticed that the lower cabinet section (the bottom shelf with the service hatch) gets damaged quite easily by the food storage box kept there. That’s why we lined the bottom shelf with a piece of sturdy foam cut to size.
By the way, while you’re working on that wardrobe, don’t forget to pull a few extra wires through the cable duct at the rear right. We used them to route a 12V DC line down to the area behind the Truma heater. We use this for, among other things, connecting the sensor light at the bottom of the bathroom. (See: Bathroom)
Comments and questions:
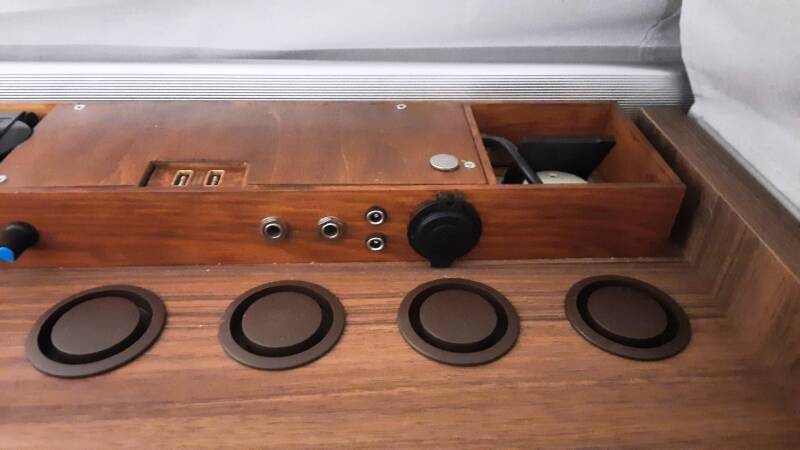
Wilbur: Nice job, well done! Where did you take the 12V DC from the Schaudt power supply? Which connection? Answer: Actually we didn't use the Schaudt power supply. We took 12V= from our own power supply on top of the wardrobe. Sorry we didn't mention this. See also: 12V power supply and USB
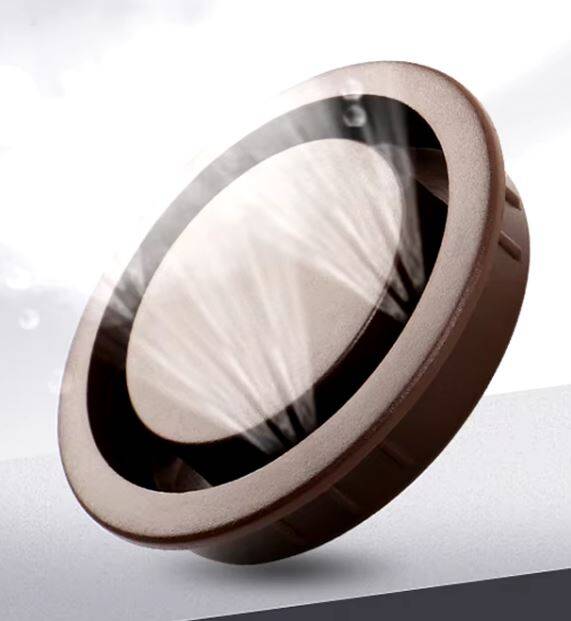
Ineke: Kudos on this fantastic website! I hope Eriba itself is taking a look too: perhaps they could learn from it. We’re experiencing the same issue with excessive heat in the wardrobe. So, my question is: which ventilation vents are those? Answer: They’re small vents from a Chinese website. Small, because there’s also a LED strip attached at the inside of the wardrobe. Also important: they’re round. That makes them a bit easier to install (using a hole saw).

Maak jouw eigen website met JouwWeb