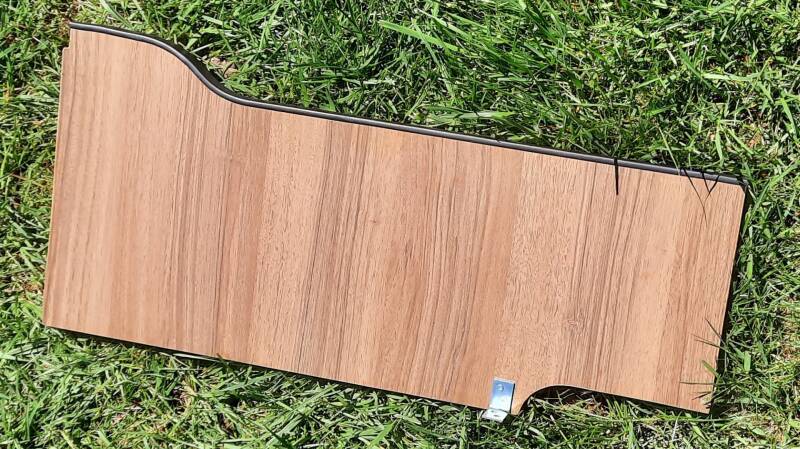
A service hatch is ugly, but a very useful option. But we want to extend the space behind it. So, we're going to make large holes in the partitions on both sides. And we're also adding lighting. So, first, we cut openings in the side panels behind the service hatch. Step 1: Stick on the saw pattern at adhesive plastic. Step 2: Round the corners with a hole saw. (From both sides to leave the veneer intact.) Step 3: Saw from the rounded corners. Step 4: Finish neatly and apply self-adhesive rubber sealant into the new holes. Result: two additional openings behind the service hatch.
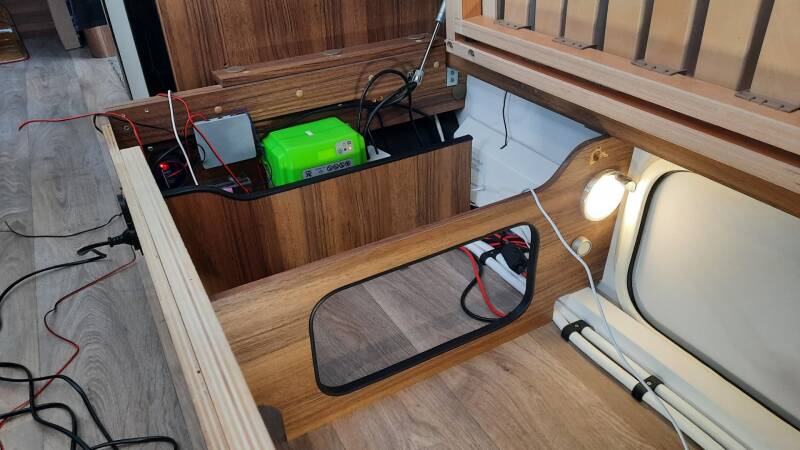
The top photo shows the first opening we made towards the kitchen. You can also see the extra partition in front of the MPP and various electronics. This partition (pictured on the right) is made from wood left over from the removed cabinet. It is also finished with the same self-adhesive rubber strip.
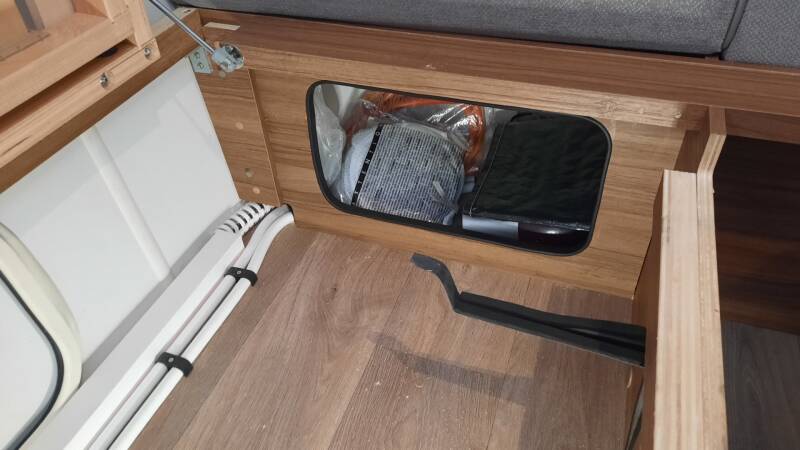
The second photo shows the opening towards the rear of the caravan. The black bracket is one of the two brackets we use to rest our poles on to keep the space behind the service hatch somewhat organized.
Comments and questions:
Ibrahim.A: Wouldn't it be better to have a service hatch on both sides of the caravan? Answer: You're right. We should have. But we found such a hatch a bit ugly on the outside. Now that we've created extra space on the left rear of the caravan, the bench on the right rear is mainly for blankets, and a service hatch doesn't really add much value there anymore.
Maak jouw eigen website met JouwWeb